How To Create A Developer Account On Google Play Console
Creating a developer account on Google Play Console is a straightforward process. You’ll need to have a Google account, and you’ll be required to pay a one-time registration fee.
Here’s a step-by-step guide with examples:
Step 1: Prepare What You Need
Before you start, ensure you have the following:
A Google Account: If you don’t have one, you can create it at https://accounts.google.com.
A valid credit card: You’ll need this to pay the one-time registration fee.
Step 2: Visit the Google Play Console
Open your web browser and go to the Google Play Console.
If you’re not signed in with your Google Account, click the “Sign in” button in the upper right corner. Sign in with your Google Account credentials.
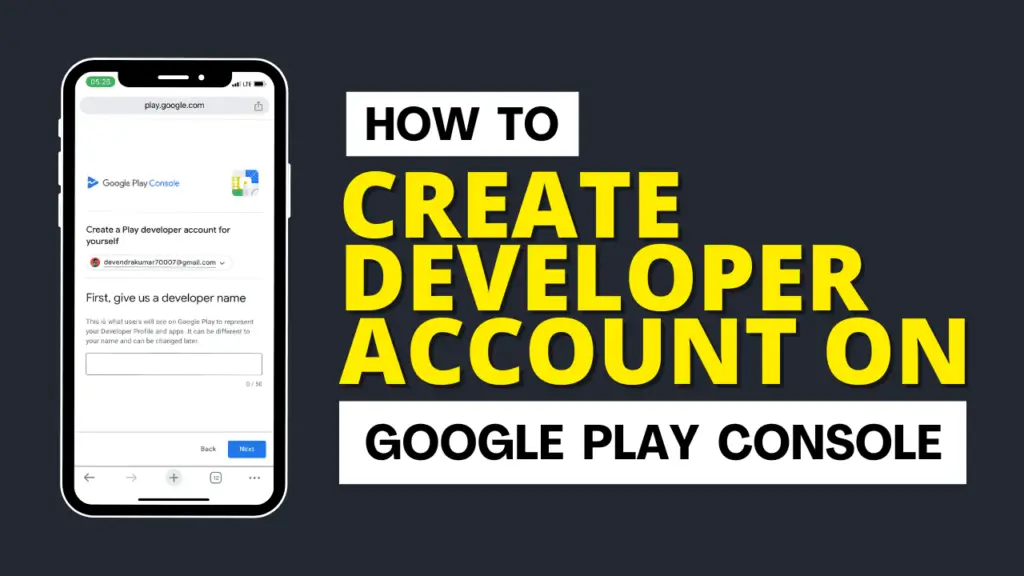
Step 3: Set Up Your Developer Account
Once you’re signed in, you’ll see the Play Console dashboard. If you haven’t set up your developer account before, you’ll be prompted to do so. Click the “Start” button to begin the registration process.
Step 4: Pay the Registration Fee
After clicking “Start,” you’ll be asked to agree to the Developer Distribution Agreement. Read the agreement, and if you agree, check the box and click “Continue to Payment.”
You’ll be prompted to enter your payment information, including your credit card details. Fill in the required information.
Click “Accept and continue” once you’ve provided your payment details.
Step 5: Payment Confirmation
After confirming your payment, you’ll receive a payment receipt on the screen.
Google will also send a confirmation email to the email address associated with your Google Account. You should receive an email titled “Order receipt from Google Payments.”
Step 6: Access the Google Play Console
Click “Access the Google Play Console” to start using your developer account.
Step 7: Complete Your Developer Profile
In the Google Play Console, you’ll need to complete your developer profile. This includes providing information about your developer name, contact details, and other relevant information.
Follow the on-screen instructions to fill in the necessary details.
Step 8: Congratulations!
You’ve successfully created a developer account on Google Play. You can now start preparing and publishing your Android apps through the Google Play Console.
Remember the registration fee is a one-time payment, and you won’t be charged again for additional apps you publish in the future. Be sure to familiarize yourself with Google Play’s policies and guidelines for app submissions to ensure a smooth app publishing process.