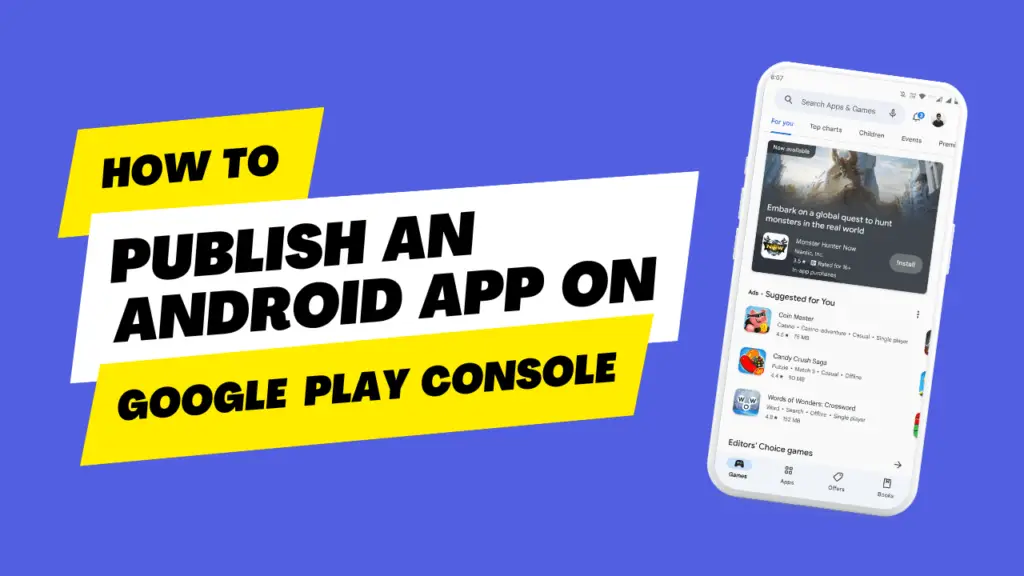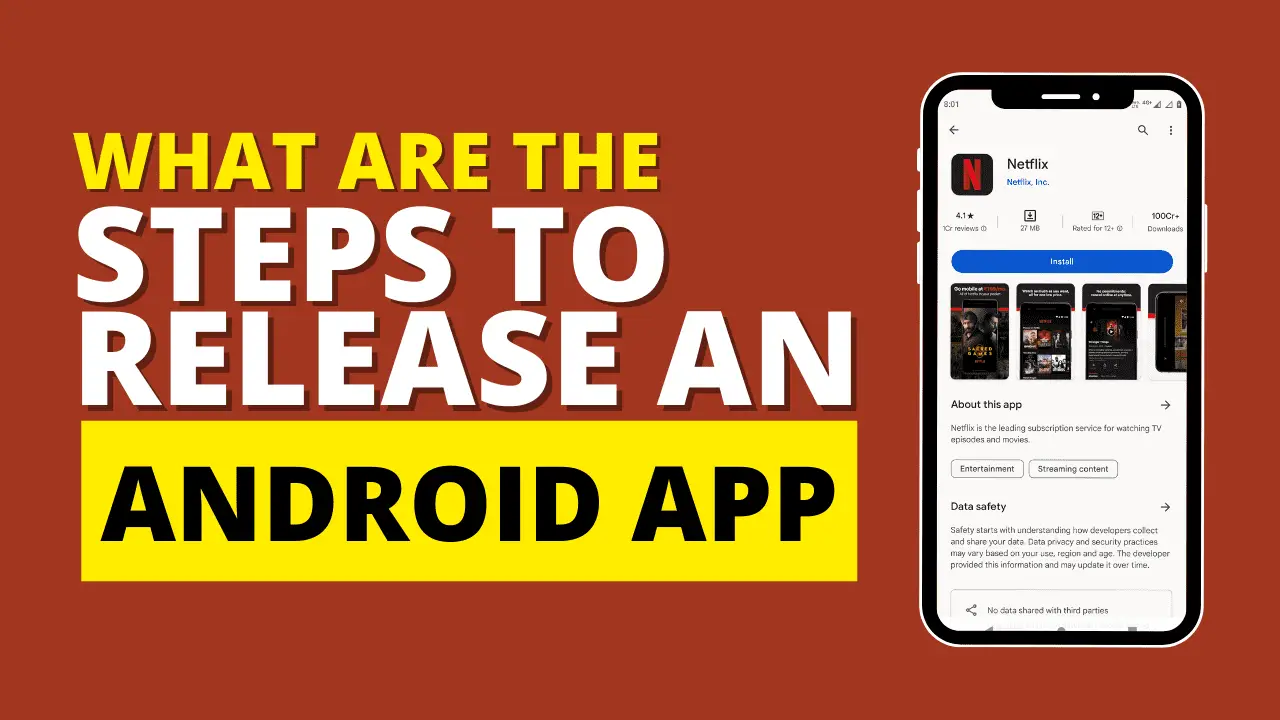
What Are The Steps To Release An Android App
Releasing an Android app involves several important steps, from development and testing to deployment.
Here’s a detailed guide with examples:
Step 1: Develop Your App
Idea and Concept: Start with a clear idea of what your app will do. For example, let’s say you’re creating a to-do list app called “TaskMaster.”
Design: Create wireframes and design mockups for your app’s user interface. You can use design tools like Adobe XD, Sketch, or Figma.
Development: Write the code for your app on Integrated Development Environment (IDE) like Android Studio. You’ll use programming languages like Java or Kotlin for Android app development.
- Testing: Thoroughly test your app to identify and fix bugs. You can use Android emulators and physical devices. For example, test adding tasks to ensure it works as expected.
Step 2: Prepare for Release
App Icon: Design an app icon. For “TaskMaster,” you could create a simple icon featuring a checklist or a checkmark.
Privacy Policy: If your app collects user data, create a privacy policy that explains how data is collected and used.
Step 3: Build and Package Your App
Build the APK: Compile your app’s code into an APK (Android Package) file. You can use Android Studio to generate a signed APK.
Versioning: Update your app’s version number. For example, set it to 1.0 for the initial release.
Step 4: Testing
- Perform a final round of testing to ensure your app is bug-free.
Step 5: Beta Testing (Optional)
Consider releasing your app in beta to gather user feedback. For “TaskMaster,” you could invite friends or a select group of testers to try out the app.
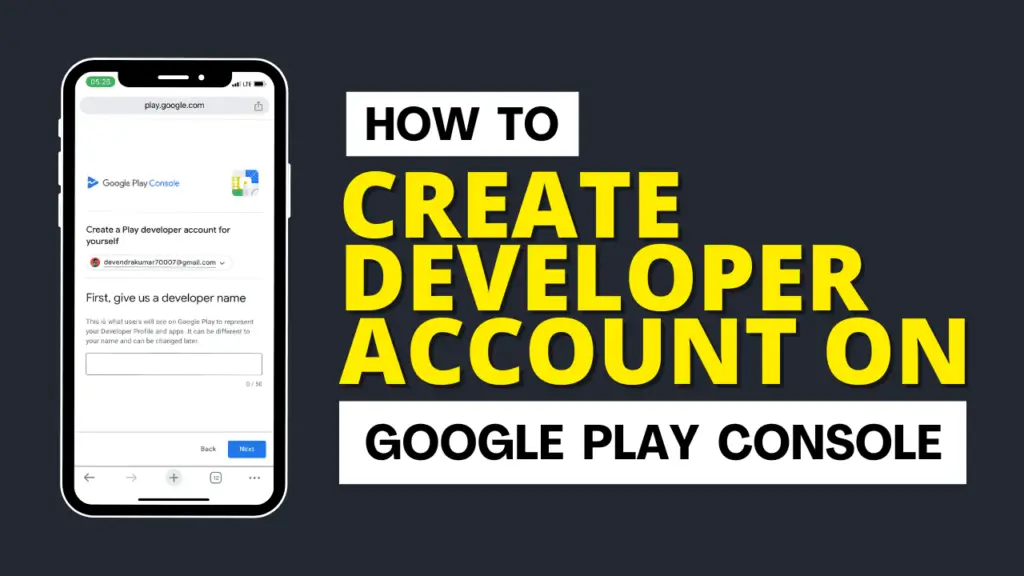
Step 6: Create a Developer Account
Go to the Google Play Console.
Sign in with your Google account or create one if you don’t have an account already.
Pay a one-time registration fee of $25 to set up your developer account.
Step 7: Create a Listing for Your App
In the Google Play Console, click “Create app” and choose a default language for your app.
Fill out the required information:
- App Name: Use “TaskMaster” as the app name.
- Short Description: “A simple to-do list app.”
- Full Description: Provide details about your app’s features.
- Graphics and Multimedia: Upload your app icon and screenshots.
Step 8: Upload Your APK
In the Google Play Console, navigate to the “App releases” section and click “Manage” for the production track.
Click “Create Release” and upload the APK you built earlier.
Step 9: Content Rating
Complete the content rating questionnaire to determine your app’s suitability for different audiences.
Step 10: Pricing and Distribution
Set the pricing model. For “TaskMaster,” you might choose “Free.”
Decide if your app will be available worldwide or in specific countries.
Step 11: Publish Your App
Once you’ve completed all the necessary steps and reviewed your listing, click the “Review” button to submit your app for review by Google. After the review process, your app will be available on Google Play for users to download and install.
Step 12: Marketing and Promotion
Promote your app through various channels to increase visibility and downloads. You could create a website, use social media, and run advertisements.
Step 13: Monitor and Update
After your app is published, use the Google Play Console to monitor its performance, read user reviews, and address any issues. Regularly update your app to improve features and fix bugs.
Remember that this is a simplified example, and the actual process may vary depending on your app’s complexity and requirements. It’s essential to stay updated with Google Play’s guidelines and policies for a successful app release.